Showing posts with label Glued Goodies. Show all posts

Friday, 20 July 2012

DIY Bracelets... Made from Plastic Bottles


Like a lot of people, we can't drink our water. Well, we probably could BUT we don't! And I drink a lot of water. I have to get a new Brita, so in the mean time we have been buying bottles again... and they build up cuz I don't throw them in the garbage... but only get down to recycling every so often. So I started thinking of WTH I could do with them!

One being: Bracelets! My hands are quite tiny and so are my wrists so a normal size water bottle fits perfectly over my hand and on my wrist. For someone with a bigger wrist, use a bigger water bottle... that way, you can cut it down and size it to fit (I'll show ya how)!

Accessories are a huge part of ones outfit... they really can make... or break an outfit. But summertime is all about fun and bright colours... so, lets accessorize baby!

You Need:
Plastic bottle - Preferably a big one... unless you have tiny hands and wrists!!
Fabric
Buttons, Ribbons or Lace for decoration (if you like)
Duct Tape or Wide Masking or Painters Tape
X-acto Knife
Scissors
Hot Glue Gun


What you do:
Take your duct tape and wrap it around the plastic bottle cutting it off when the ends meet.
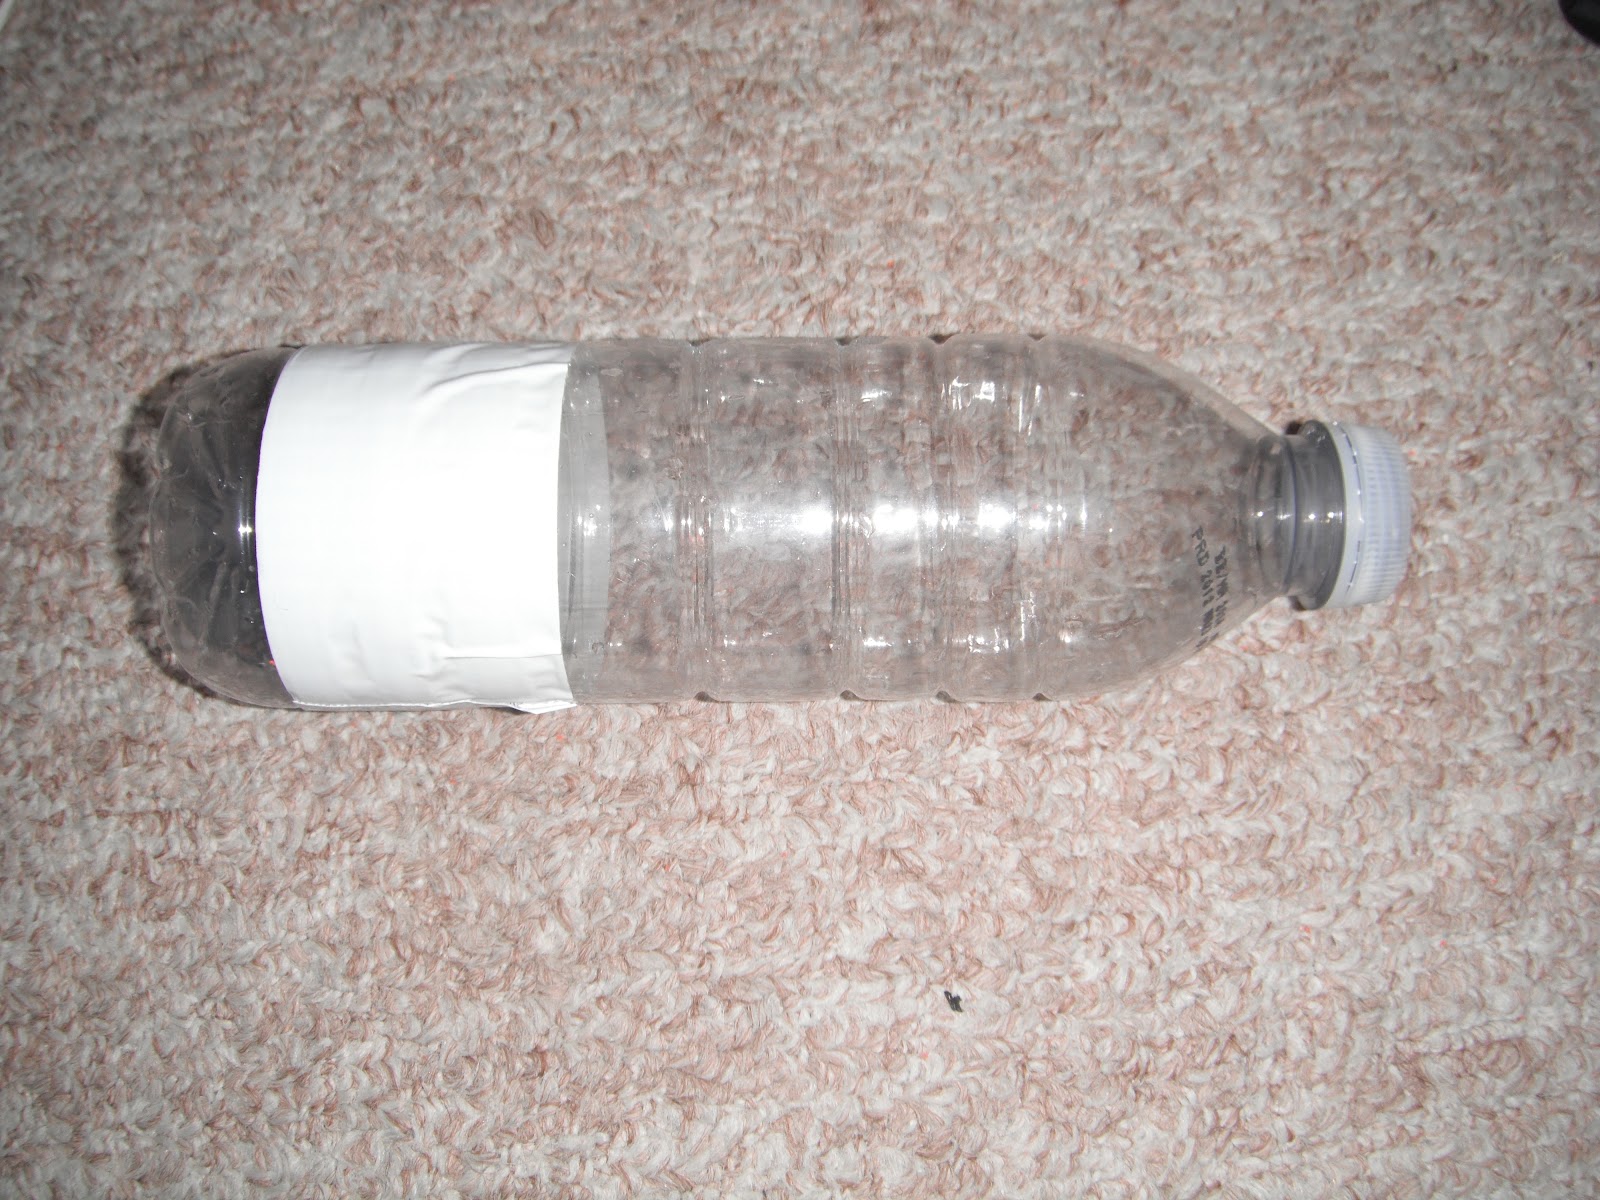

Carefully cut into the bottle along the edges of the tape. Do this to both sides, cutting out the "bracelet".


If you have a small wrist and are using the small bottle, you can skip this next step. I'm using a small bottle this time, so there will be no pictures of this next part.

Put the bottle "bracelet" on your wrist. Too big? If so, which it most likely is since you are using a bigger bottle, then you are going to cut the plastic bracelet with scissors. Measure the desired size directly on your hand, cut the extra piece off and then secure the ends of the bracelet with the duct tape, making it a bracelet again... this time one that fits!

Now we are going to wrap the entire bracelet in duct tape two to three times. Making sure the edges are covered. This way, the bracelet won't melt from the glue... and the edges won't be sharp! I didn't cover the whole inside, just the edges.


If you are working with an elastic fabric, pull it gently in length stretching it before gluing. This way the edges curl and won't be seen. And it leaves a great texture for your bracelet!


Apply hot glue where the fabric is going to start to wrap around the bracelet. You don't need much glue. Stick the fabric down and press gently sticking the fabric, but making sure you don't squish the bottle!


Glue fabric down and wrap the bracelet with the fabric by going around and around the bracelet until it's covered.


Once you have wrapped the entire bracelet with fabric, apply glue to the bottle and glue the end piece of fabric down. Try to wrap the end around so it's inside the bracelet and can't be seen!


If you want to add lace, ribbons, buttons or anything else you have in mind... giver!


The great thing about a plastic bottle bracelet is ... you can get a few bracelets out of a bottle! So grab your fabric and a bottle and start to accessorize!!

xOx - L

Click here to Like Designs & Decor on a Dime on Facebook.

Wednesday, 18 July 2012

DIY: Make a Mini Notebook

Another fetish of mine is note books. I'm constantly writing notes or jotting things down. We always browse down the note book aisle at the Dollarama... and of course, I get one pretty much every time. I almost have too many... but there is never "too many" in my world.

This is a great notebook cuz it's small and it will fit right in my smallest purse. I need to have an on the go book for those random thoughts that I get when I'm out... or if I remember I need something. Then there is the "dedicated notes" note book that we use to write each other quick back and forth notes! Cute I know.... but they aren't always lovey dovey... most of the time it's more like "clean this, or get this while you are out". haha okay, and back on track I go.

One of the good things about making these note pads is if you use a big enough cereal box... and your note books are a smaller size (like these ones) you can usually get a couple note books out of one box. So make a few while you are at it! Keep them for yourself, or give them away to your friends as gifts, they really are quite cute once they are done... and they don't take too long to finish either!


Materials you will need:
Cereal or Oatmeal Box
Ruler
Paper (white or lined, whichever you prefer)
Pencil
Button
Needle & Embroidery Thread or Thread (I like thicker for this, you can see it better)
Glue
Scissors
Decorative Paper

What you do:
Take your cereal box and cut it so it's flat. Use your ruler and measure out the size of the note book. I did mine 8.5" by 6", but you can do yours whatever size you like, whether it's smaller, or bigger. If you are using a big cereal box, you can get two or three note books, so you might as well do a couple while you are at it! Once you are done, cut out your piece(s).


Fold your cut out in half so the blank cardboard is outward.


Next, sew your button about halfway down on the edge of the front of your note book. Make your thread longer so you can use it to wrap around and close your note book.


Trace the outline of your note book on to a piece of paper and glue it on the inside of your notebook to cover up the cereal packaging. You can use plain white paper if you like. I decided to use coloured paper since I was using blank white paper for the inside already... I wanted some colour in there to brighten up my day! :)


Take the paper that you are filling your note book up with and cut it so it's a little bit smaller than the outline of your book. If you want, you can glue the bottom and top sheets to the note book, but you don't have too.


Now, take your embroidery thread and needle and stitch the paper to your note book down the centre spine. And don't worry about the mess on the back, we are going to cover it anyway with the spine!!


Cut out a sheet of decorative paper to go on the front and back spine of your note book. Glue it on with glue (just a tip, glue both the cardboard and the paper, it sticks MUCH better that way).


Yay! Finished!! Now you got yourself a cute new notebook to take to work or class... or if you are like me, in your purse, by your bed, in the bathroom... lol, you never know where or when you are going to think of something that you don't want to forget!!!


Check back for more cool things to make out of recycled goods!!

xOx - L

Click here to Like Designs & Decor on a Dime on Facebook.

Monday, 16 July 2012

DIY Wall Art | Made out of Recycled Toilet Paper Rolls!


Who knew something so beautiful could be made from toilet paper rolls! I've always wanted to make something out of TP rolls, but I just have never gotten around to it yet. Until now, I decided. I really need something for the empty wall in my dining room and I thought a design out of the rolls would look awesome!

The only thing I haven't decided yet is if I want to make it look like rustic metal or paint a colour or two... I honestly think colours are one of my biggest challenges. I never know what colours to pick.


You don't need much for this project at all. TP rolls, scissors, paint and glue.

Deciding how many toilet paper rolls you need all depends on how big you want your art to be. The bigger the art, the more rolls you area going to need. One roll will get you 5 "petals". That's what we are going to call them, because to me, that's what they look like, lol. You can also use paper towel rolls, which are bigger so will get you more petals. Once you have enough toilet paper rolls for your project, you can start cutting them. Squish the toilet paper roll down so it is flat (see picture below). Like I said before you can get 5 petals from one TP roll. Cut out as many petals as you need.


Take your petals and start making a design. Move them around until you find a design that works for you!


Once you have a design in mind, take a picture so you remember what it looks like and decide whether or not you are painting them. If you are, now is the time to do it! I decided to paint mine black and pink. Half way through I decided I wanted a bit of gold in there too, so I painted the outside and then the inside and let them dry.


Get out your camera and resort to the picture you took previously of your design and start to lay out your petals to match the picture! As you can see, mine looks nothing like the first picture, haha, but I knew that was going to happen, it usually does! If you are using a hot glue gun, start to heat it up, it's almost gluing time!


Note: If you don't want to use glue, you can use staples. I prefer glue.

Glue your petals together one by one. If you are making a design, you might not be gluing all your flowers together. If that is the case, start to glue your design, petal by petal and link it all as one. If you are doing all flowers like I am, you can create all your flowers first, petal by petal, and then glue them together.

Once your design is in place and secured with glue, let it dry before hanging it up. If you stapled it, you can skip the drying part! Duh!


I put 3 little finishing nails in the wall and hung my flower wall art up above the doorway in the hallway! I think it looks awesome! I'm glad I didn't do it any bigger like I was going too... then it would have been just a little too big!

xOx - L

Click here to Like Designs & Decor on a Dime on Facebook.

Thursday, 12 July 2012

Quick DIY Corkboard N' Felt Coasters..

I have soooo many sets of coasters it's not even funny. Some would say I hoard them... others would say it's a collection. I like to go with collection, lol. Today Kev got a good laugh at me today when he asked what I was doing this time. I looked up at him and smiled... he just shook his head... just goes to show you how often I make coasters and that we have a few too many!!

I like them so much because they are sooooo quick and easy to make. They are great for everywhere, both indoors and outdoors. Heck, you can throw a lit candle on them!

These coasters in particular are great for outside on the balcony or the deck!

What you need:
Thin Cork Board
Felt
Fabric Glue (you can use hot glue, I did)
x-acto knife
Scissors
Ruler
Pen


What you do:
Once you have all your supplies gathered, measure out 4x4 squares on your cork board. I only did 2. One for Kev and one for me, but I could have did a whole whack of them with one square. By the way, you can get 2 sheets at the Dollarama for $1, no more than $1.50. They go a long way!


Cut out the squares with your x-acto knife. It might take you two cuts, be patient. Sometimes cork board isn't the easiest to work with.


Once your squares are cut out, you can start to cut designs out using your x-acto knife. If you aren't comfortable free hand cutting, draw where you want to cut on the cork board with your pen first. Just a tip: it's hard to cut in circular patterns, I stick to straight lines! Once you have all your designs cut out, brush off the bottom, top and inside the cuttings to get rid of any excess pieces. 


Trace the cork board squares on to the felt pieces and cut out. If you want you can cut the felt pieces a little bigger to have it hang over the edges half inch or something. I like mine to be even.


In my case, I heat up my glue gun and layered glue on the bottom side of the coaster. I stuck the piece of felt on it and pressed it tight, smoothing out the felt.


Let them dry and they are ready to use!!


Like I said... perfect for the balcony!!

xOx - L

Click here to Like Designs & Decor on a Dime on Facebook.

Wednesday, 11 July 2012

DIY: Easy Peasy Push Pins ... Buttons/Flowers/Butterflys!!


I love little cute office supplies. I used to walk through the Dollarama and Staples and look at all their cute new push pins with buttons or ladybugs or bees on them and think ... those are so cute... I should make those. So the next few times going to Dollarama, I realized, I ain't making those... and I bought a few. I have no idea where half of them are anymore, good thing they were only a dollar.

Well, now I need some. So I went to Dollarama and got a box of normal pushpins. I thought... this time, I'm just going to make some! It's not going to take much time at all... definitely be worth it!

What you need:
Hot Glue Gun
Thumb Tacks - Flat head tacks are better to use
Buttons/Objects


What you do:
Let your hot glue warm up, once it's warm place a thin layer of glue on the top head of the thumb tack.


Place the thumb tack on the center of the button (or whatever you are putting on). Let dry.


Once dry you can start to use them!! They look sooo much better than the plain thumb tacks!! And just as good as the cool ones you can get in the store... but cheaper... and made by YOU!!! Everyone at work will be asking where you got them!!

xOx - L
 
Click here to Like Designs & Decor on a Dime on Facebook.

Envelope Liners - DIY!


I had to make a card for my Mom for her Birthday today, so while I was stuffing it in the envelope, looking at it, I thought it was a BLAH! So, I decided to make an envelope liner to add a little bit of my own touch! Personalization adds so much to a card or present... or in this case an envelope. It makes the person feel special that you took the time to make it look just right... just for them!

I like this idea for wedding invitations too! It adds a little something extra to your invites, something more personal. If you don't feel comfortable drawing or doodling them yourself, find a background or image on the computer and print it off! I know if you make a lot of wedding invites, you might not want to hand draw them all, the computer would come in handy for that!

I decided to do a couple of them at once as it's my Grandpa's Birthday at the end of the month!

What you will need:
Envelopes
Plain or Coloured Paper
Markers, Crayons, Coloured Pencils
Scissors
Glue


What you will do:
Draw designs or phrases on your plain or coloured paper. You are going to want to draw on 3/4 of the page, or just under half, but I guess it really depends on the size of the envelope.


Once you have your design drawn, lay the envelope on top of the paper and mark off the sides and bottom with a pencil. Cut just inside the lines so your piece of paper will fit snug inside the envelope.


Stuff your paper inside the envelope and shove it down until the top of the paper is at the top of the open flap of the envelope and turn it over.


Mark the envelope line with a pencil, then cut off the sides. Turn the envelope back over and push the liner down until it's right underneath the glue on the envelope. Fold the liner where the envelope flap folds and glue the liner down!


Now you got yourself a hand crafted gorgeous envelope that surely no one will want to rip!

xOx - L

Click here to Like Designs & Decor on a Dime on Facebook.

Tuesday, 10 July 2012

DIY: Mason Jar Pin Cushions


I know you have all seen these before... They are definitely a pretty common project... but I don't know if you all know just how easy of a DIY it really is. It doesn't take that long at all, you can do it while you watch your favourite show or those boring parts of the news. And one of the best parts about it... is you probably have everything you need right at home!

These are a great place to store all your spools or bobbins. Some of you might even have yours stored in one already... well why don't you make it have 2 uses and add a pin cushion to the top! Perfecto! They really make a cute gift for an avid sewer or new sewer as well. Shove a whack of sewing accessories in it and you are good to go!! You can even get fancy and start to dress up the mason jar too!

Here's what you'll need:
Mason Jar w/ lid
batting or sponge
fabric (scrap chunk)
hot glue
pencil
scissors
cardstock (small chunk)


And here's what you'll do:
First you are going to trace the metal lid onto the piece of card stock and then cut it out approximately 1/8 of an inch inside your traced line.


Next, trace the metal lid onto the piece of fabric. When you cut out the fabric, make sure you leave approximately an inch of fabric all the way around.


Grab a bunch of batting (approximately a fist full), work it so it's in a ball and cut it off.


Layer the top of the lid with hot glue and stick your fist full of batting to it. Turn it over onto the back of the fabric circle.


Now you are going to begin gluing the fabric to the underside of the lid. Pull the fabric over the batting and secure with glue to the edge of the lid (where the rim meets the lip of the jar). Work your way around securing the fabric to the lid with hot glue. Try to avoid too much bulk, you are going to want to make sure the lid still closes.


Grab the circle of cardstock you cut out earlier and glue it to cover up the glued fabric.


Squeeze the piece inside the rim and you are done! **Make sure that your piece will fit inside the rim of the jar allowing the lid to screw on and off.


And you are done!! Now tell me that wasn't simple!?! Stick some pins in them, fill up the jar with sewing accessories and place it on a shelf!  Like I said before, they even make cute gifts for someone that enjoys sewing.

xOx


Click here to Like Designs & Decor on a Dime on Facebook.