Monday, 16 July 2012
DIY Wall Art | Made out of Recycled Toilet Paper Rolls!
Who knew something so beautiful could be made from toilet paper rolls! I've always wanted to make something out of TP rolls, but I just have never gotten around to it yet. Until now, I decided. I really need something for the empty wall in my dining room and I thought a design out of the rolls would look awesome!
The only thing I haven't decided yet is if I want to make it look like rustic metal or paint a colour or two... I honestly think colours are one of my biggest challenges. I never know what colours to pick.
You don't need much for this project at all. TP rolls, scissors, paint and glue.
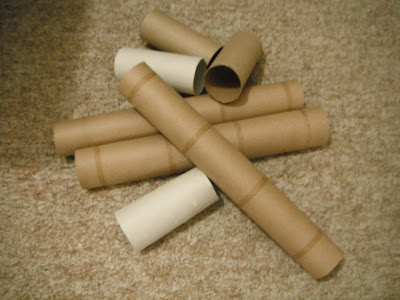
Deciding how many toilet paper rolls you need all depends on how big you want your art to be. The bigger the art, the more rolls you area going to need. One roll will get you 5 "petals". That's what we are going to call them, because to me, that's what they look like, lol. You can also use paper towel rolls, which are bigger so will get you more petals. Once you have enough toilet paper rolls for your project, you can start cutting them. Squish the toilet paper roll down so it is flat (see picture below). Like I said before you can get 5 petals from one TP roll. Cut out as many petals as you need.
Take your petals and start making a design. Move them around until you find a design that works for you!
Once you have a design in mind, take a picture so you remember what it looks like and decide whether or not you are painting them. If you are, now is the time to do it! I decided to paint mine black and pink. Half way through I decided I wanted a bit of gold in there too, so I painted the outside and then the inside and let them dry.
Get out your camera and resort to the picture you took previously of your design and start to lay out your petals to match the picture! As you can see, mine looks nothing like the first picture, haha, but I knew that was going to happen, it usually does! If you are using a hot glue gun, start to heat it up, it's almost gluing time!
Note: If you don't want to use glue, you can use staples. I prefer glue.
Glue your petals together one by one. If you are making a design, you might not be gluing all your flowers together. If that is the case, start to glue your design, petal by petal and link it all as one. If you are doing all flowers like I am, you can create all your flowers first, petal by petal, and then glue them together.
Once your design is in place and secured with glue, let it dry before hanging it up. If you stapled it, you can skip the drying part! Duh!
I put 3 little finishing nails in the wall and hung my flower wall art up above the doorway in the hallway! I think it looks awesome! I'm glad I didn't do it any bigger like I was going too... then it would have been just a little too big!
xOx - L
Click here to Like Designs & Decor on a Dime on Facebook.
Subscribe to:
Post Comments (Atom)


No comments:
Post a Comment